Showing posts with label how-to. Show all posts

Thursday, October 6, 2011

Homemade Cloth Diaper Detergent

The Why

I used the last of my cloth diaper detergent this week. Instead of purchasing more, I decided to make more. I did some research on the web and it was really quite basic research. I very quickly became aware that everyone had different opinions. I figured that if I continued to research, I would just find more of the same differing opinions.

Most recipes contained three ingredients: Fels Naptha (laundry bar soap), washing soda, and borax. Some people found the borax too abrasive for their kids bum. Also, the Fels Naptha can cause build up on your diapers which means you need to strip them more frequently. No, thank you. Too much work!

I decided to use baking soda, washing soda, and OxiClean. I had all the ingredients (except it took me a while to locate the baking soda). And they are all good. OxiClean Free has no dyes, perfumes, or phosphates. Washing soda is deemed nontoxic and baking soda… well, we cook with it, don’t we? It was easy peasy. I even took pictures.

The Tutorial

IMG_6038

1. Gather your ingredients. Washing soda and OxiClean can be found in the laundry section of your grocery store. Baking soda is in the baking aisle.

IMG_6039

2. Pour all your ingredients in a container. I used one cup of each.

IMG_6042

3. Mix together. I left this scoop in there. I got it from Rockin Green. It has a tablespoon on one side and a teaspoon on the other.

IMG_6041

4. Put lid on and label. For ease of remember, I also wrote how to make it. Super easy.

The Cost comparison

Rockin Green: $15.95 for 45 oz. I used 1 1/2 Tbsp per load so that is about 60 loads. $0.27 per load.

Homemade Detergent

Baking soda: $4.18 for 64 oz. I used 8 oz so that is $0.52.

Washing soda: $2.50 for 55 oz. I used 8 oz so that is $0.36.

OxiClean Free: $6.50 for 65 oz. I used 8 oz so that is $0.80.

Total cost: $1.68 for 24 oz. If I continue to use 1 1/2 Tbsp per load that is 32 loads. $0.05 per load.

Whoa. Okay. I wasn’t expecting that big of a savings. $0.22 per load savings!!

Right now I wash diapers three times a week. In one month I’m saving $2.64 (3*4 washes). That’s a savings of $34.32 per year (3*52 washes)!!!

The Conclusion

I can’t really say that I’d do it for the environmentally friendly aspect of it all. Rockin Green was really quite good. No phosphates, no dyes, you didn’t have to have fragrances but if you did, it all washes out so it’s really just for you to stick your nose in your laundry detergent and smell something pretty. Homemade detergent is great.

One cost I didn’t factor in is that I can buy all the ingredients for the homemade detergent at my regular grocery store. It doesn’t take an extra trip. Rockin Green I had to drive somewhere special or order it online and pay shipping. That just makes Rockin Green more expensive and therefore the savings is higher to switch to homemade detergent.

One test left to go. Do the diapers like it? I won’t know for at least a few weeks or even a month from now to get a really good idea. But I’ll be sure to let you know.

Friday, March 25, 2011

The Bag's Bag

So I mentioned in my kitchen post my plastic bag holder. The idea came from my mom. She made a plastic bag holder out of a kitchen towel. I was going to do that too but then I remembered that I had this awesome red material (thank you, JoAnn remnants) that is much more lovely than a kitchen towel.

Me: Do you like this material?
Him: What's to like?
Me: .........
Him: Um.

And a discussion ensues...

Him: If you only have one choice, then... that's the choice. There's nothing to like or dislike.
Me: If you don't like the only choice you have and you have the time to wait, wouldn't you wait for something you liked?

Let's look at this another way. He has one wife. That's the choice. You can still like or dislike your wife even though you don't have multiple wives to choose from.

You have one computer. You can like or dislike its specs. Maybe you dislike it but can still live with it.

My point is the right one, of course.

Anyway. Pictures on how I made the bag's bag.


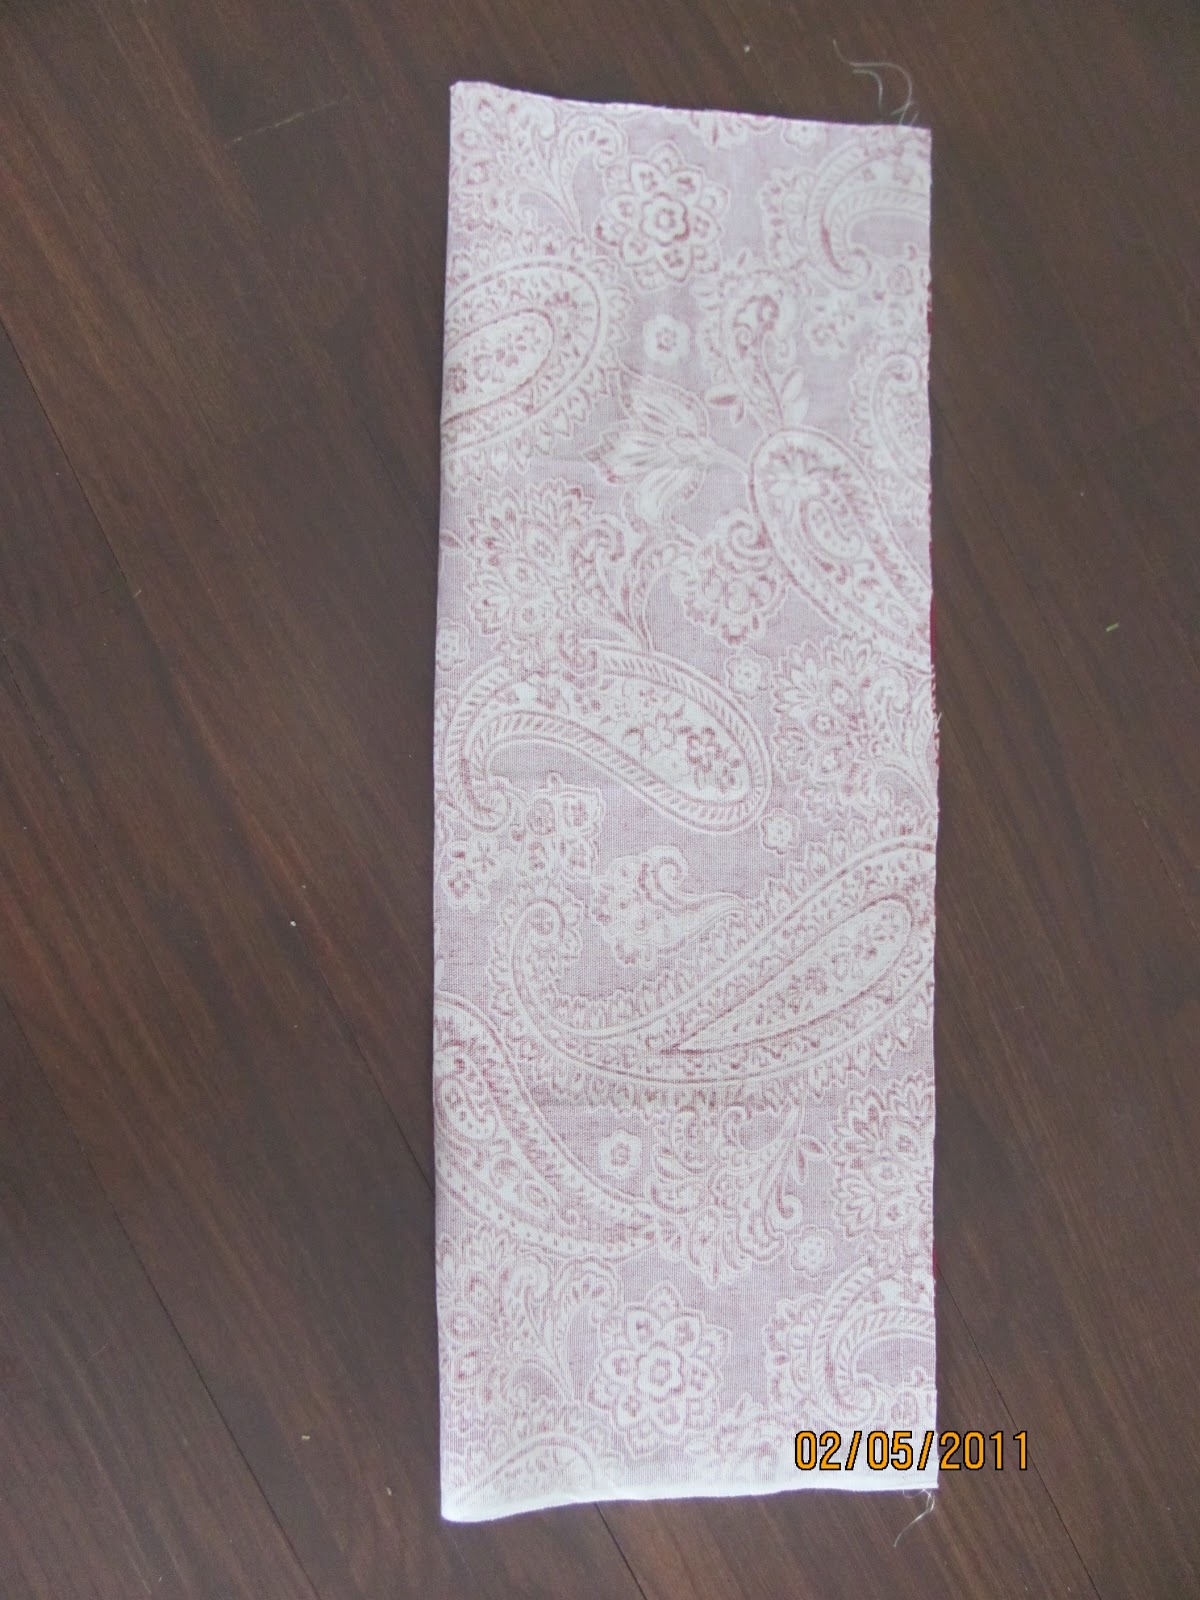
Here's the material. I cut it to that size. Really, I just guessed. I think I may have just cut the remnant in half and I believe it is a little bit longer than a kitchen towel but probably about as wide. Can you see why I asked Jared if he liked the material? It's not even a pattern that I'm usually drawn to but I really liked this one.


Fold in half and sew down the long side. It kind of bothers me that the floor is not straight in these pictures.


On the bottom edge, fold up to create a hem. I made mine just a little bit wider than my elastic (which I think was 1/4 inch). I didn't fold the edge of the hem in because this edge is already finished. Remember to keep a small opening so you can insert your elastic later.


Iron your seam open if you want. You could have done this before you created the hem. You could also press/sew your seam to one side. I like pressed open seams if I'm not working with a serger (which I'm not now because I don't own one).


Insert your elastic. I use a safety pin. The hard part about pressing your seams open is that your elastic may cause one side to bunch up in this step.


Sew the ends of the elastic together. Now, if you wanted to, you can sew the opening closed. My opening wasn't very big and so I just skipped that step.


On your top edge, make a hem. I think I folded mine 1/4 inch (seriously, I didn't measure anything on this quick project) and pressed it down. Then I actually folded it down something like 1/2 inch and sewed that down because I was going to do something similar to the bottom but with ribbon or yarn. Yeah, I realized quickly that it wouldn't work that way so what YOU WANT TO DO is to fold it 1/4 inch and then another 1/4 inch and sew it.


I cut ribbon to the length I wanted and sewed it to opposite sides of the bag (on the inside as you can see). I cut the ends at an angle to prevent fraying.


I hung a cup hook in the closet for the bag to hang from (the same type of hook I used for the spoon rest and the hot pad holders). By the way, my long seam is facing the wall so I can't see it. Something to think about when sewing on your ribbon.

And here it is! I like that I was able to bring red into this part of the kitchen. It brings a fun little punch to view in an otherwise kind of boring place.