Showing posts with label kitchen. Show all posts

Saturday, October 15, 2011

Three Tiers for the Kitchen

This project took 10 minutes. Maybe only five. I didn’t actually time it.

Kitchen

More empty space in the kitchen. I’ve been thinking of what to do for a really long time. Since the tile goes all the way up the wall, I didn’t want to deal with installing shelves. I settled on this. As soon as I decided, I had to do it right away.

Yeah, totally didn’t work out for me. I bought the baskets (Bed, Bath, & Beyond), came home, discovered it doesn’t come with hardware. The next day or two took me to the grocery store for regular shopping. Stopped by the hardware section and got a ceiling hook, got home, discovered it was missing a piece. No problem… I guess. The hardware store will have one. I never made it to a hardware store. I finally picked up a hook somewhere else for pretty cheap a few days ago.

Super easy project though. If you have everything. Drill into the ceiling (drilling up is not my favorite). Install anchor (if necessary) and hook. Hang baskets. Fill. Admire!

In my baskets I have cloths meant for dusting and washing windows. Next down is wash cloths for dishes, counters, etc. The bottom basket holds hand towels. All my non-white ones are in the wash.

My absolutely favorite part of this project was that I didn’t tell Jared. AND HE NOTICED!!! AND LIKED IT!!! And then asked why I didn’t put one on the other side of the window.

Tuesday, September 27, 2011

Under Shelf Organizer

Those who are {still} friends with me on Facebook know that my mini project for the kitchen was thwarted yesterday. I was even commended for using the word thwarted.

My project remains thwarted today.

So I completed another project instead.

And I am happy.


This is what one cupboard started like. It's an odd angle because I'm showing the mugs into the back corner of this odd-shaped cabinet.


This is another cupboard. Earlier in the year I had rearranged cupboards and gotten the corner shelf for the dishes. What that meant is that I had to remove the second shelf. I hated all that extra and wasted space above the cups but what are you gonna do, you know?


Enter the undershelf organizer basket. I got it from Meijers and it cost under $10. I'm being lazy and not checking the actual price. I totally was hoping that it would fit. Edit: It cost $6.19.


It does and it's awesome! I moved Kaelyn's dishes (and cups and bottles) into the basket and moved some of those mugs with the cups. Back where they belong. Sigh of relief, everyone. Sigh!


The odd shaped cupboard. Empty space! And yes... a lone mug.


And a few more mugs. We have 11 mugs. I am tempted to get rid of some of them except we actually use all of them when we have family over in the winter and we have hot chocolate or tea.

Friday, March 25, 2011

The Bag's Bag

So I mentioned in my kitchen post my plastic bag holder. The idea came from my mom. She made a plastic bag holder out of a kitchen towel. I was going to do that too but then I remembered that I had this awesome red material (thank you, JoAnn remnants) that is much more lovely than a kitchen towel.

Me: Do you like this material?
Him: What's to like?
Me: .........
Him: Um.

And a discussion ensues...

Him: If you only have one choice, then... that's the choice. There's nothing to like or dislike.
Me: If you don't like the only choice you have and you have the time to wait, wouldn't you wait for something you liked?

Let's look at this another way. He has one wife. That's the choice. You can still like or dislike your wife even though you don't have multiple wives to choose from.

You have one computer. You can like or dislike its specs. Maybe you dislike it but can still live with it.

My point is the right one, of course.

Anyway. Pictures on how I made the bag's bag.


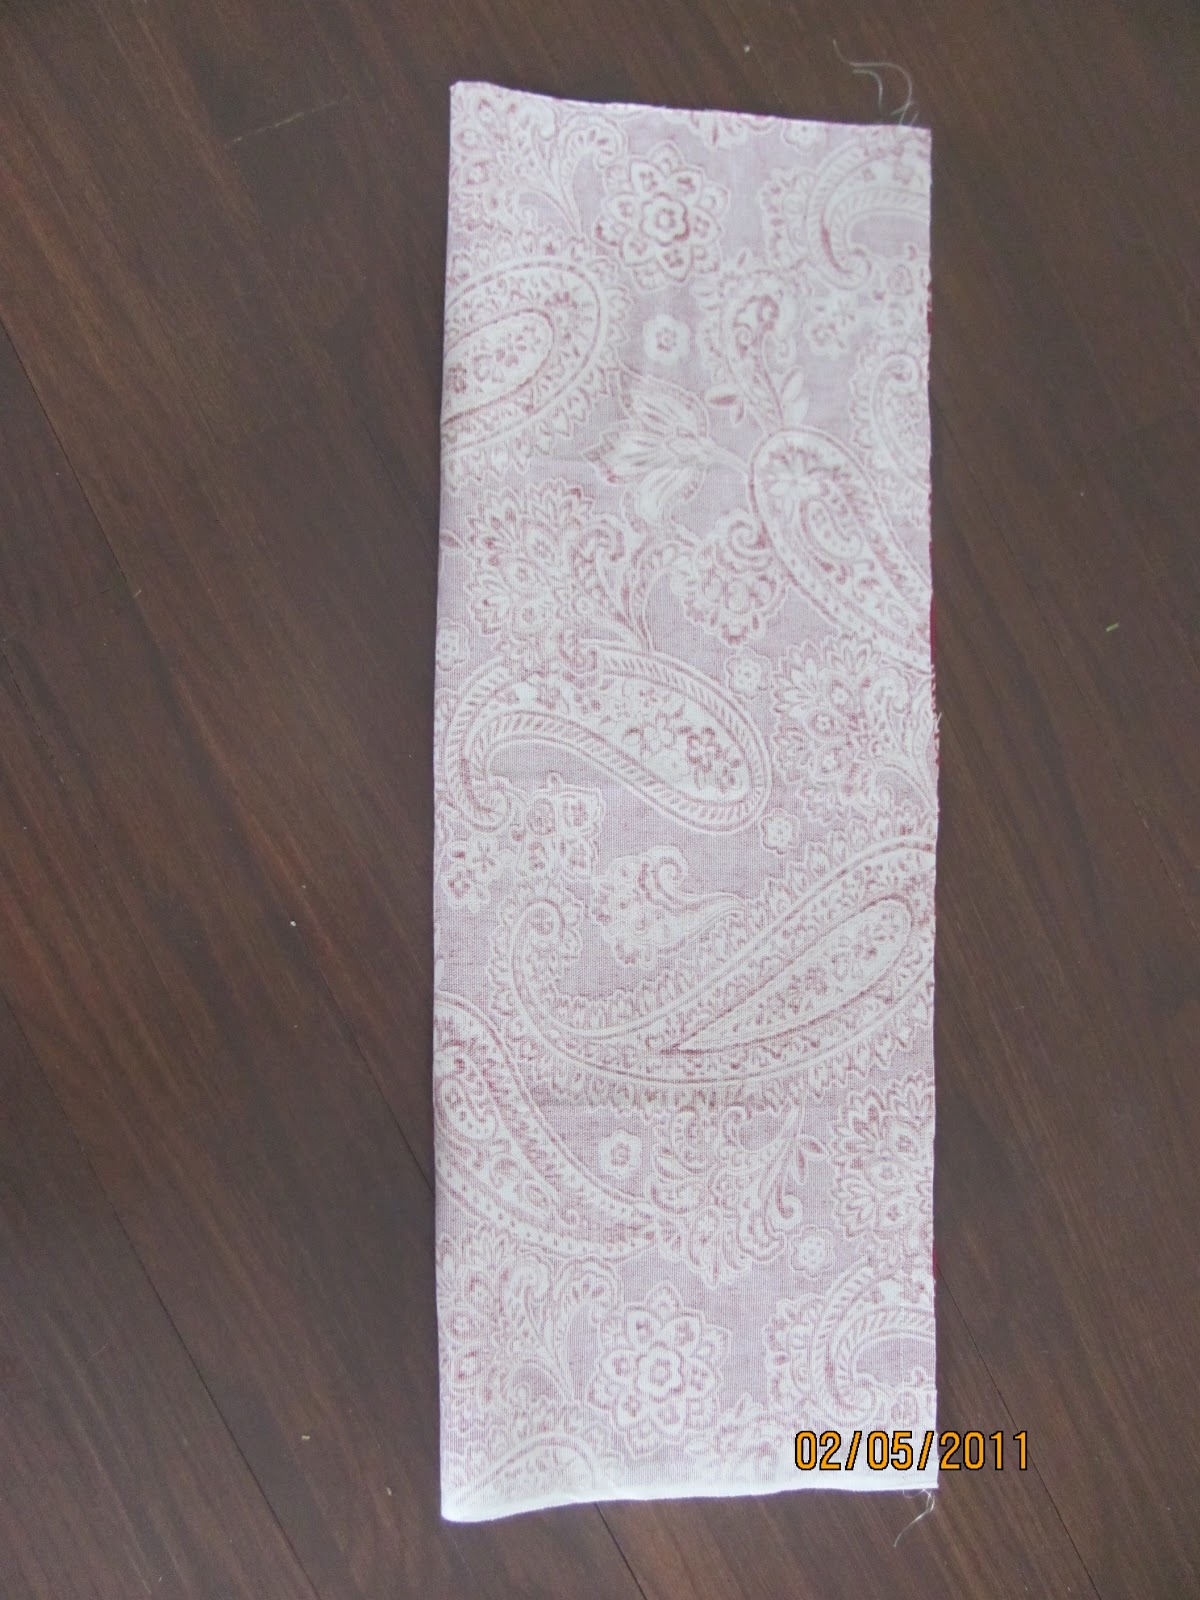
Here's the material. I cut it to that size. Really, I just guessed. I think I may have just cut the remnant in half and I believe it is a little bit longer than a kitchen towel but probably about as wide. Can you see why I asked Jared if he liked the material? It's not even a pattern that I'm usually drawn to but I really liked this one.


Fold in half and sew down the long side. It kind of bothers me that the floor is not straight in these pictures.


On the bottom edge, fold up to create a hem. I made mine just a little bit wider than my elastic (which I think was 1/4 inch). I didn't fold the edge of the hem in because this edge is already finished. Remember to keep a small opening so you can insert your elastic later.


Iron your seam open if you want. You could have done this before you created the hem. You could also press/sew your seam to one side. I like pressed open seams if I'm not working with a serger (which I'm not now because I don't own one).


Insert your elastic. I use a safety pin. The hard part about pressing your seams open is that your elastic may cause one side to bunch up in this step.


Sew the ends of the elastic together. Now, if you wanted to, you can sew the opening closed. My opening wasn't very big and so I just skipped that step.


On your top edge, make a hem. I think I folded mine 1/4 inch (seriously, I didn't measure anything on this quick project) and pressed it down. Then I actually folded it down something like 1/2 inch and sewed that down because I was going to do something similar to the bottom but with ribbon or yarn. Yeah, I realized quickly that it wouldn't work that way so what YOU WANT TO DO is to fold it 1/4 inch and then another 1/4 inch and sew it.


I cut ribbon to the length I wanted and sewed it to opposite sides of the bag (on the inside as you can see). I cut the ends at an angle to prevent fraying.


I hung a cup hook in the closet for the bag to hang from (the same type of hook I used for the spoon rest and the hot pad holders). By the way, my long seam is facing the wall so I can't see it. Something to think about when sewing on your ribbon.

And here it is! I like that I was able to bring red into this part of the kitchen. It brings a fun little punch to view in an otherwise kind of boring place.

Saturday, March 12, 2011

Refreshing the Kitchen

A few weekends ago (several by now, I think), Jared and I did some refreshing in the kitchen. Meaning Jared installed the hooks and I did everything else. I really didn't want to do the hooks so it is very much appreciated that he agreed to. Kaelyn quickly moved from trying to get in the cupboards to emptying the lowest shelf in the pantry.


 Today I want to show you the main kitchen area. I only have one before picture but if you think of dirty dishes and some piles of miscellaneous items, you pretty much of thinking of the right space. You may not care what my kitchen looks like but lemme tell you that I will enjoy looking back at these pictures on days like today (and weeks like this week) and know that it can be purtiful.


My stove looks a whole lot dirtier than that right now. Majorly worse. So the kettle was out still from whenever we used it last. I've never had a home for the oven mitts (look there's crap on the dining room table -- it's not there anymore!) but that was about to change.


After hanging some hooks and cleaning the stove, this is what we have. I bought cup hooks that screw into wood. These are hanging on the cupboard edge. Like it wouldn't be seen inside the cupboard because it isn't the bottom of the cupboard. The oven mitts go on one side, the spoon rest goes on the other.

BTW, I cleaned the microwave too. It's really easy. In a mug, microwave for maybe a minute water + a little vinegar. It loosens all the food and I really just had to wipe it down. I've heard you can use lemon halves in water as well but vinegar is cheaper. On the stove, I use baking soda.


The counter next to the stove saw changes as well. There was a round spice thing in the corner and it was taking up room and making the space awkward so I finally removed it from the kitchen. The spices that we use weren't even on that rack anymore anyway. The radio/CD player got moved to the corner. The cord runs behind all the canisters to the plug so I can't see it! The spoons and spatulas were over by the sink (different part of the same counter) but it makes much more sense for them to be by the stove. The trivets (Jared had never heard that word before we got married) go between the flour and utensils. It fits very nicely there.


The dish rack used to be on the let side of the sink, but I really like it on the right side. We had a tendency to put dishes on the right side of the sink and then ignore it (for some reason that was really easy to do) but now that the dishes are on the left side of the sink, it's much harder to ignore them. I put non essentials under the sink and only left out the scrub brush, the bottle brush, a pair of gloves (for when I'm wearing nail polish or doing a ton of dishes), dish soap, hand soap, lotion. Like the view? Hi, neighbors broken window! Towels hang on something I found at Bed, Bath, and Beyond a while back. Kaelyn used to pull the towels off whenever she saw them on. We just didn't make it a big deal and rehung them. Now she rarely pulls them off.


There is my fruit hammock! I removed many things off this counter. It was cluttered and not even with kitchen items. Some people have a junk drawer. We tend to have a junk counter. The radio used to be on the corner near the cookbook holder and that was awkward placing plus Kaelyn could pull the plug. In between the cookbook holder (which was a recent kitchen addition and I'm thrilled it matches my canisters and utensil holder I got when I was married) is a candle to bring a lovely scent to the area.

It is so refreshing to have that counter cleared off! (Stop laughing, my kitchen is a disaster right now. At least MOST of the dishes are washed, right?) It makes meal preparation so much easier and enjoyable when there is a nice flow to everything and, of course, when it is clean.


Some changes here too. The green bins are from Target. The bottom one is for paper recycling and the top is for everything else. We don't really need to make the distinction but it keeps it organized well. The garbage can is in teh back. The broom and mop to the side. And that red thing is something I whipped up to hold all those plastic bags. I have pictures on the how-to side but that will be another day.

And this is the rest of the kitchen.... from before we bought the house. I don't have a more recent one but it looks the same. Except... used.