Showing posts with label paint. Show all posts

Tuesday, October 11, 2011

Family Room Stripes

I painted the family room in August. I had purchased two tints of paint at the same time which I touched on in this post. I haven’t taken pictures because besides the paint, I’m still not happy with this room. Small steps… I know.

Another small step was taken yesterday and today when I taped the walls and then painted. It looks great! Just wait till I show you the pictures.

How to Paint Stripes

Materials needed:

  • leveler
  • marking device (I started with pencil but moved to chalk because it’s easier to erase if necessary)
  • painters tape (masking tape does not equal painters tape – take the time to find your painters tape or go and buy some)
  • paint
  • paint brush

First. Decide how many stripes you want and how wide (long?) they should be. I made mine 9” except for the very top and bottom stripes. I don’t have a picture of why but I didn’t do stripes on the whole wall. There is an opening to the craft/dining room and then a small portion of wall that wasn’t painted with the stripes. I started the lines at the top of opening so the lines didn’t look weird. It makes sense… I promise.

Second. You mark where your lines go. I did this by marking where I wanted the first line for about a foot. Then I used the level to mark it the rest of the way across the wall. I did it this way because our ceiling is not straight. If I had measured down from the ceiling the whole way across, I would have ended up with crooked lines.

Third. Place your painters tape along the lines. Make sure you do them on the right side of the lines. The first line will be on top of your marks. The second line of tape will be on the bottom of your marks. Repeat. When you’re done taping, your stripes will look uneven but we’re only painting every other stripes so it’s okay. Also tape where your stripes begin and end.

Fourth. This step is optional but I took my wall color (the lovely light gray) and painted where the tape met the wall on the inside of the stripes I would be painting. If any paint seeps under the tape, it will be the original wall color and not your stripe color.

Fifth. If you did step four, wait for it to dry completely. Then paint with your stripes color.

Sixth. Repeat step five unless you don’t see a need for a second coat of paint.

Seventh. Remove the tape before the paint dries. The paint is less likely to pull off or flake that way.

Eighth. Step back and admire. Don’t ask your husband how it looks because he’ll only say that he doesn’t dislike it and you will be sad that he didn’t just say that he liked it.

IMG_6058

Above: Wall with just tape (no, I didn’t tape the thermostat, just painted around it)

IMG_6063

Above: First coat of paint done and still drying.

IMG_6065

Shadow with typical Asian greeting. This wall is HARD to photograph well!

IMG_6066

Second coat done and tape is off. It looks so good!

IMG_6067

A second picture because I just couldn’t resist.

After stenciling my living room wall, I wasn’t sure if I could like something as simple as stripes. But when I had the idea over the summer, I was pretty much sold on it. I totally love it now that the stripes are painted! Stripes are definitely easier to paint but it is just as big of an impact as the stencil.

Saturday, January 29, 2011

Stenciling the living room wall

The last room to be painted in my house (eh, at least for now) was the living room. The room was this pumpkin brown kinda color that clashed with the fireplace brick and made the room feel dark. Initially I had chosen a pale blue color (I don't remember the name). Waaaaay back in June I started with the closet. Way too blue. There was no way I could live with that color. I tried to. Meaning I stopped painting and left it like that for weeks months. I would say "we really need to finish painting the living room" but could never bring myself around to it.
Picture before I had even seen my house.

I ended up going to my favorite Orange store and I had them add some black paint to each of the cans (nearly 3 full gallons). I purchased a large 5 gallon bucket so I could mix them all together for color uniformity once I got home. I was nervous. I wasn't sure I wanted a dark color in there.

Original ugly color on the left. Pretty new color on the right.
Again, I started with the closet. As Jared and Lindey can both attest, I spent the whole time calling them in the room to see how it looked all the while worrying that it was too dark even though I liked the color. Bonus: at least I liked the color. The untinted blue was not even a blue that I liked much. It may have been the lighting. They kept assuring me it was fine and looked good and would you just shut up and paint already. So I did. I painted the whole room. And I started getting excited. And I started seeing one wall different than the rest.

Pretty color next to fireplace brick.
I showed some images to Jared to give him an idea of my vision. He liked it. He even asked if I would do the whole room that way. I refused. It was going to be a lot of work and wasn't what I was seeing for the room.

Ignore the piles.
 I wanted an accent wall. Too much would be.. well, too much. I didn't want it to be overwhelming.

Ah! So refreshing!
 I installed the closet shelving. I hung this closet a bit lower than the other closets so we could access the top shelf easier. The bottom rod is for little kid coats. We keep shoes on the floor but it's so very disorganized. That must change some time.

I can't get over the wall color, the trim color, and the tile all together! They look good!
So I took a trip to JoAnn's for the few supplies I would need for my project. Let's take a trip through blank blue gray wall to pretty blue gray stenciled wall!


I started by creating a pattern. I followed one I've seen around (and even more since). I modified it to work for me.

Next you trace it out on newspaper because you really need to make sure it's going to look as awesome as it does in your head.


Next you take a picture of the cat helping you with your scraps.


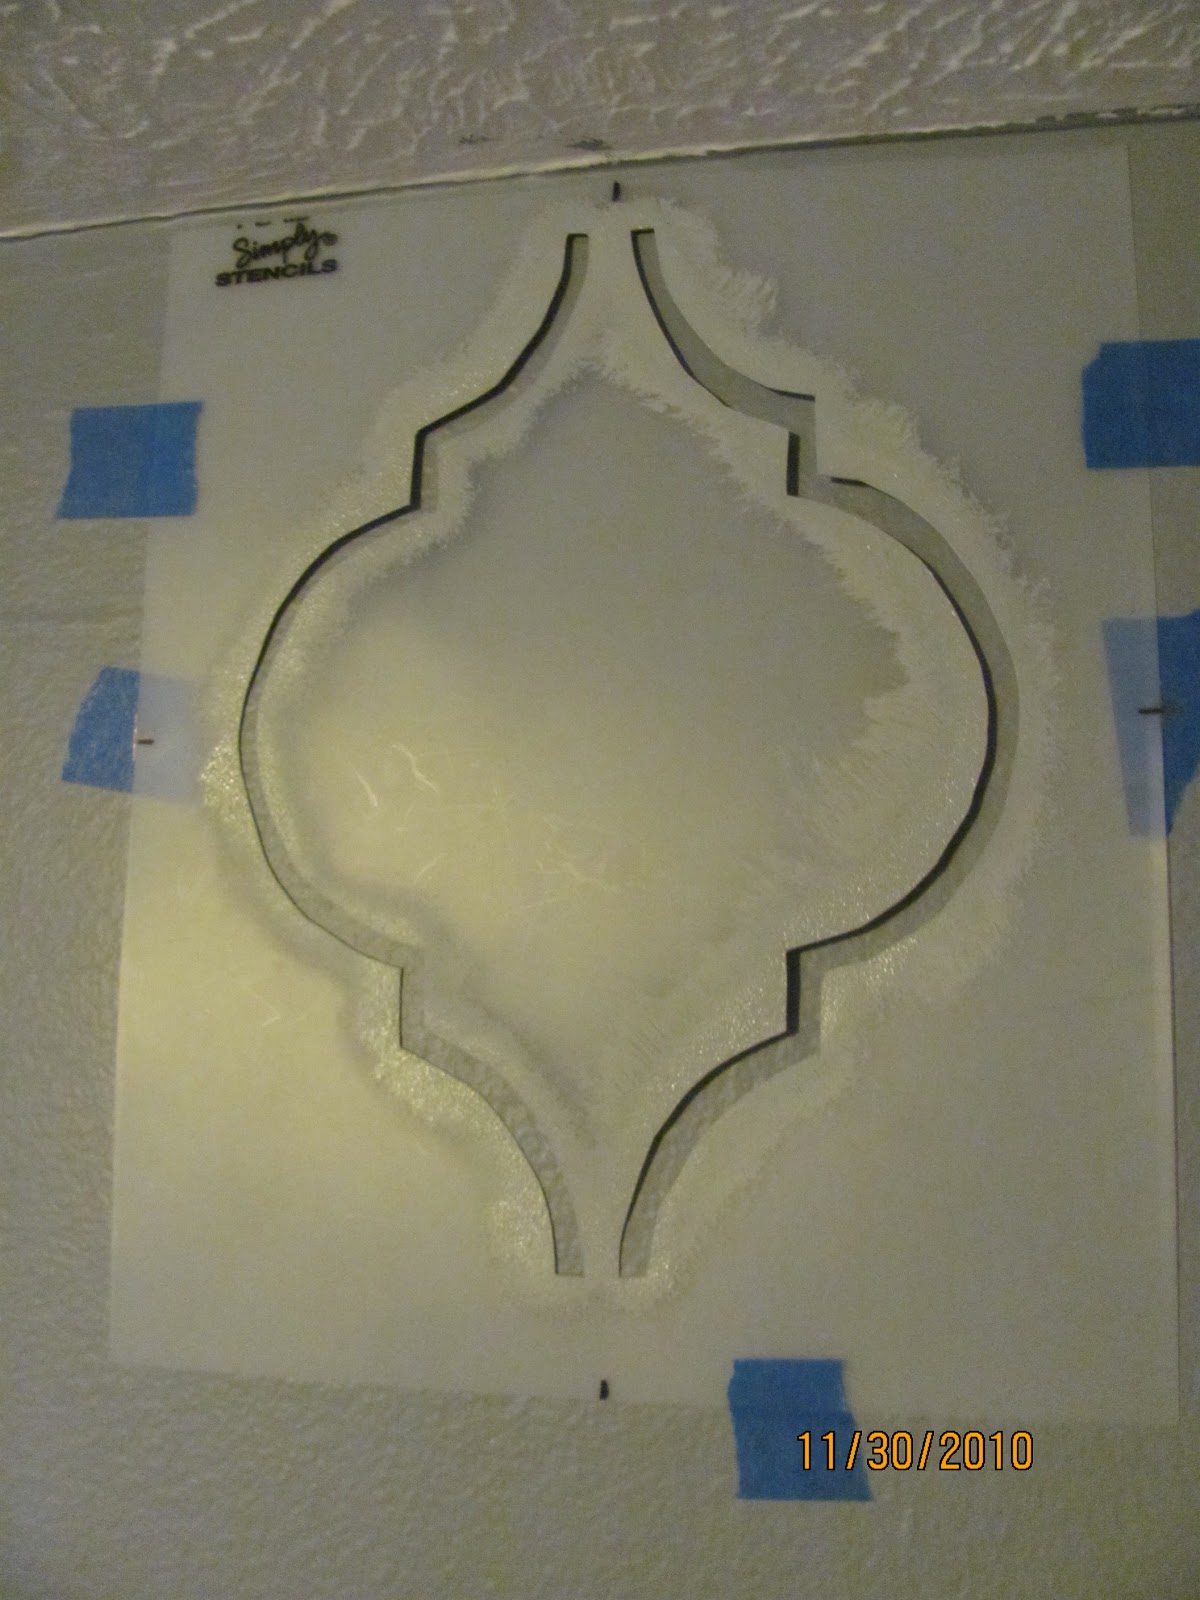
Trace and cut out the stencil. I used a box knife because that's what I had. Poor box cutter. Gets used for everything shy of cutting my potatoes. I picked up the stencil thing at JoAnn's. It came in a pack of three. There are other sizes to choose from but this one was perfect for my wall.


I found the center of the wall and then taped sections for where the stencil would go in between. The second row of tape that is underneath the stencil is what I'm referring too. Lots of measuring. Lots of tape. But I only did the first row to help map it out. Then I taped the stencil to the wall starting in one corner. Using a stencil brush, I put the paint on the wall.

Speaking of the paint... I bought a small white acrylic paint at JoAnn's and added some of the wall paint to it and mixed it up. It turned out to be the perfect amount of paint for my wall project. Score! It was actually a little lighter than I had in mind, but I let Jared help choose the shade and he liked this. Turns out that I really like it too.


Paint a few. Stand back. Admire.


Paint a whole row. Stand back. Admire.

Start on row two. For this, I centered it between the first row.


Paint second row. Stand back. Admire.


This is when I started the third row. I lined it up using the top and sides as guidelines. You can see that I would have to do some touch up work later.


Paint entire wall. Stand back. Admire. Gush. I should probably mention that I used the leveler for every single stencil. Even so, some are closer than others. Not extremely noticeable except to she who stenciled.


We moved the piano back and now I don't mind the color of the piano. It looks good with this new room color! Maybe one day I'll still paint it (and, ahem, attach its leg) but it's good for now.


I still can't believe how much of a different this wall color makes in the feeling of the room. It doesn't suck up light like the old color. It's really not that dark even though it looks darker in person than it does in these pictures. And I love this wall! Everybody who has seen it tells me that it looks like wall paper and can't believe that I had the patience to paint it. Lemme tell ya, it took several 6am mornings and nap times and please-watch-Kaelyn-pleeeease moments. I couldn't say how many hours it took but I can tell you that it was so worth it. I would do it again.

Today's Creative Blog

HookingupwithHoH