Me: Do you like this material?
Him: What's to like?
Me: .........
Him: Um.
And a discussion ensues...
Him: If you only have one choice, then... that's the choice. There's nothing to like or dislike.
Me: If you don't like the only choice you have and you have the time to wait, wouldn't you wait for something you liked?
Let's look at this another way. He has one wife. That's the choice. You can still like or dislike your wife even though you don't have multiple wives to choose from.
You have one computer. You can like or dislike its specs. Maybe you dislike it but can still live with it.
My point is the right one, of course.
Anyway. Pictures on how I made the bag's bag.

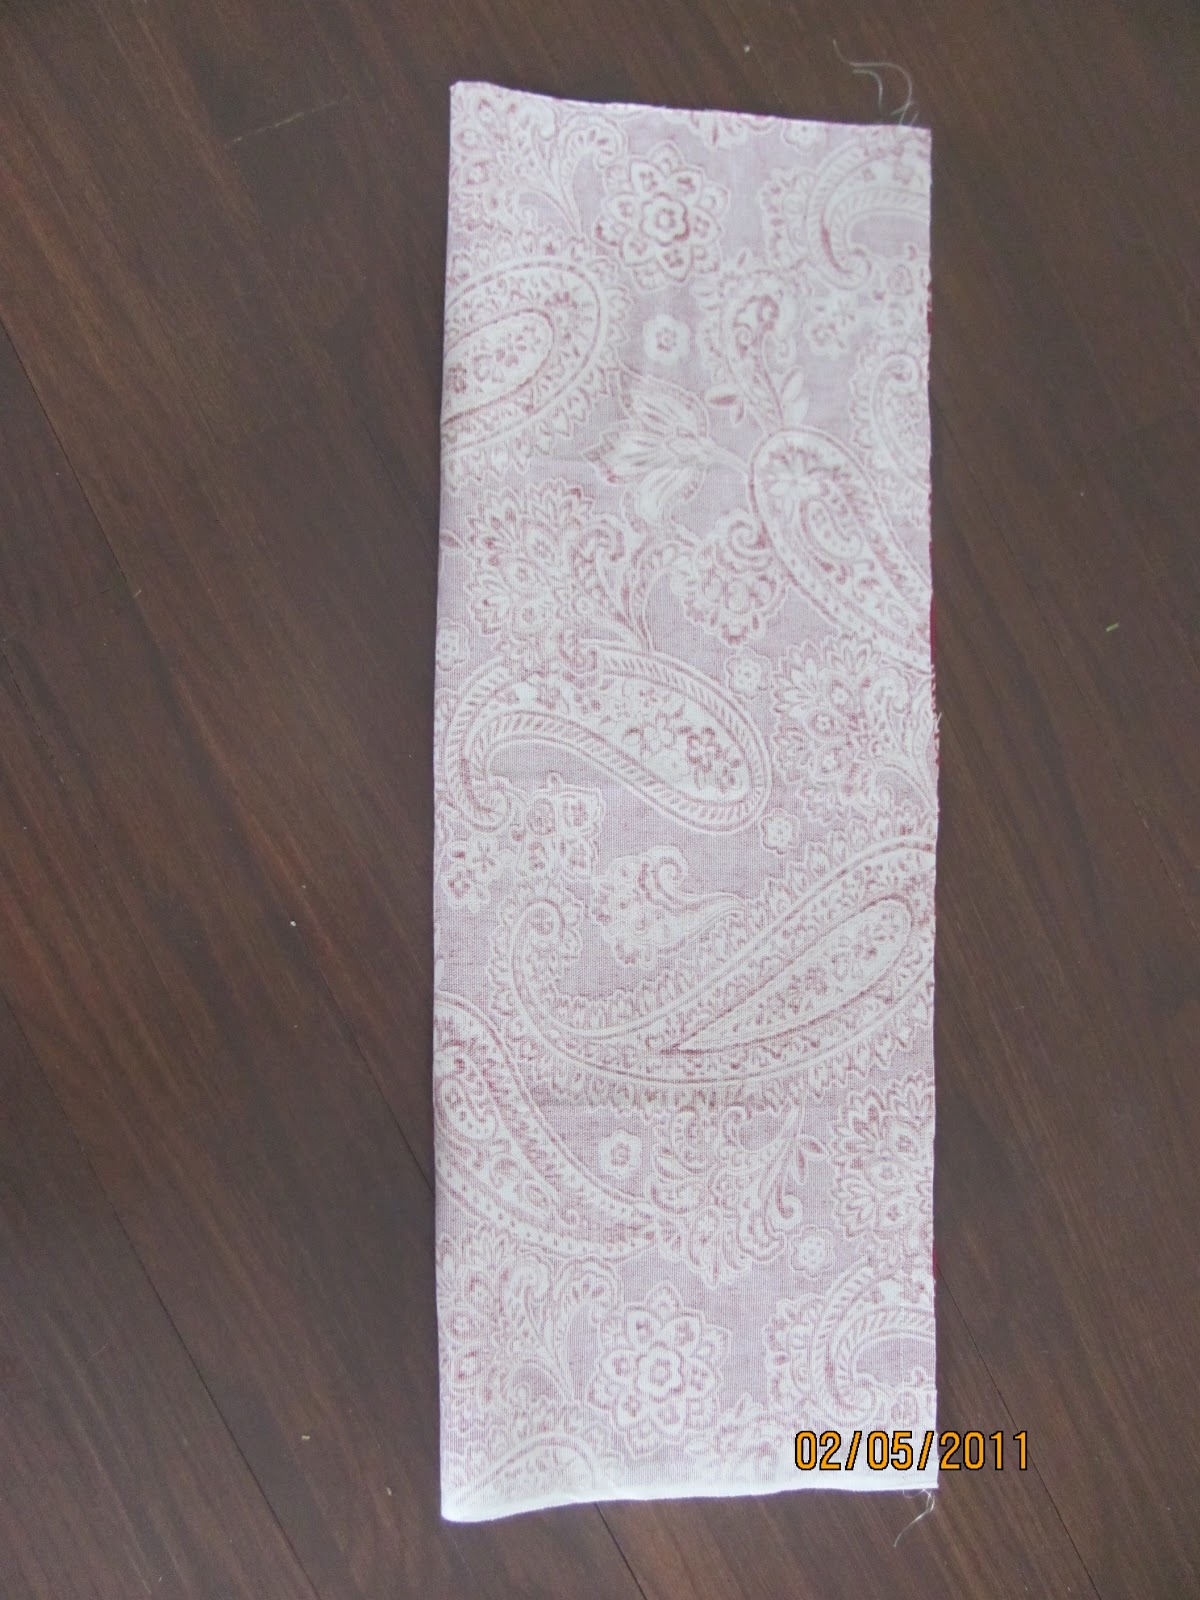
Here's the material. I cut it to that size. Really, I just guessed. I think I may have just cut the remnant in half and I believe it is a little bit longer than a kitchen towel but probably about as wide. Can you see why I asked Jared if he liked the material? It's not even a pattern that I'm usually drawn to but I really liked this one.
Fold in half and sew down the long side. It kind of bothers me that the floor is not straight in these pictures.

On the bottom edge, fold up to create a hem. I made mine just a little bit wider than my elastic (which I think was 1/4 inch). I didn't fold the edge of the hem in because this edge is already finished. Remember to keep a small opening so you can insert your elastic later.

Iron your seam open if you want. You could have done this before you created the hem. You could also press/sew your seam to one side. I like pressed open seams if I'm not working with a serger (which I'm not now because I don't own one).

Insert your elastic. I use a safety pin. The hard part about pressing your seams open is that your elastic may cause one side to bunch up in this step.

Sew the ends of the elastic together. Now, if you wanted to, you can sew the opening closed. My opening wasn't very big and so I just skipped that step.

On your top edge, make a hem. I think I folded mine 1/4 inch (seriously, I didn't measure anything on this quick project) and pressed it down. Then I actually folded it down something like 1/2 inch and sewed that down because I was going to do something similar to the bottom but with ribbon or yarn. Yeah, I realized quickly that it wouldn't work that way so what YOU WANT TO DO is to fold it 1/4 inch and then another 1/4 inch and sew it.

I cut ribbon to the length I wanted and sewed it to opposite sides of the bag (on the inside as you can see). I cut the ends at an angle to prevent fraying.

I hung a cup hook in the closet for the bag to hang from (the same type of hook I used for the spoon rest and the hot pad holders). By the way, my long seam is facing the wall so I can't see it. Something to think about when sewing on your ribbon.


i like your "discussion" and you're totally right. what a nincompoop. cute bag's bag. i need one...
ReplyDelete